Using the Bundled Web UI
The Dreamphase server ships with a built-in browser interface. Open it on any device that can reach your stack; no app install required.
Opening the web UI
The web UI is served by the dreamphase container on the same port as the HTTP API (API_PORT, default 8543). Open a browser and navigate to:
# From the host machine
http://localhost:8543

# From another device on the same LAN
http://192.168.1.42:8543
Replace the host and port with whatever you configured in your .env. If you put the stack behind a reverse proxy with TLS, use the proxy's domain instead.
First-time setup
The very first time you load the UI you will be greeted by an API Key Required screen. This is the auth gate; nothing else loads until you provide a valid key. The key authenticates the browser against your Dreamphase server, and once entered it is stored locally in the browser so you do not have to re-enter it on subsequent visits.
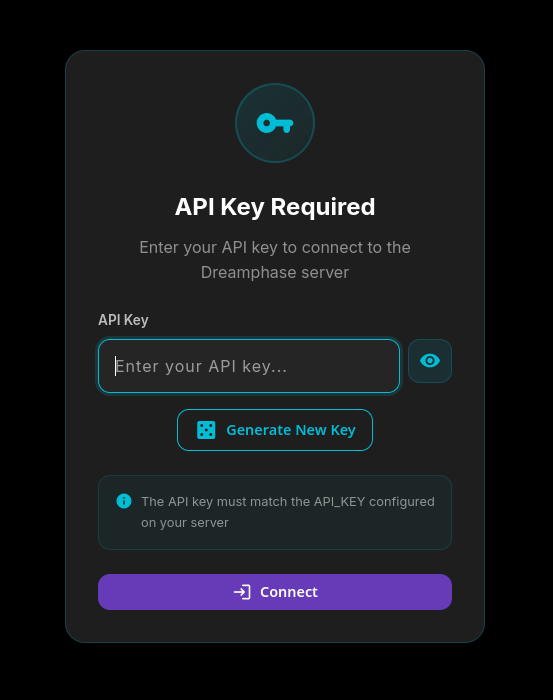
You have two ways to populate the field:
- Paste the value of
API_KEYfrom your.env. This is the right path if you already chose a key when you started the stack. - Click Generate New Key. The UI fills the field with a random key, but this only sets the browser side. You still need to copy that value into
API_KEYin your.envand restart thedreamphasecontainer so the server expects the same key.
Click Connect. If the key matches, the auth screen disappears and the home view loads.
Changing settings later
Once you are past the auth gate, the gear icon in the top right opens the Settings panel for ongoing configuration:

- API Key: change or re-enter the key. The eye icon toggles visibility; Copy sends it to your clipboard.
- Server URL: defaults to
/api/v1, which is correct when the UI is served from the same host as the API. Override it only if you are pointing a separately-hosted UI at a remote Dreamphase server (e.g.https://dreamphase.example.com/api/v1). - Connection Status: a green dot and Connected mean the UI can reach the API. Test Connection re-checks on demand, which is useful after changing the key or restarting the stack.
Home view
Once authenticated, the home view lists your dream entries with a search bar, filters, and three quick-stat chips for total dreams, this week, and this month.
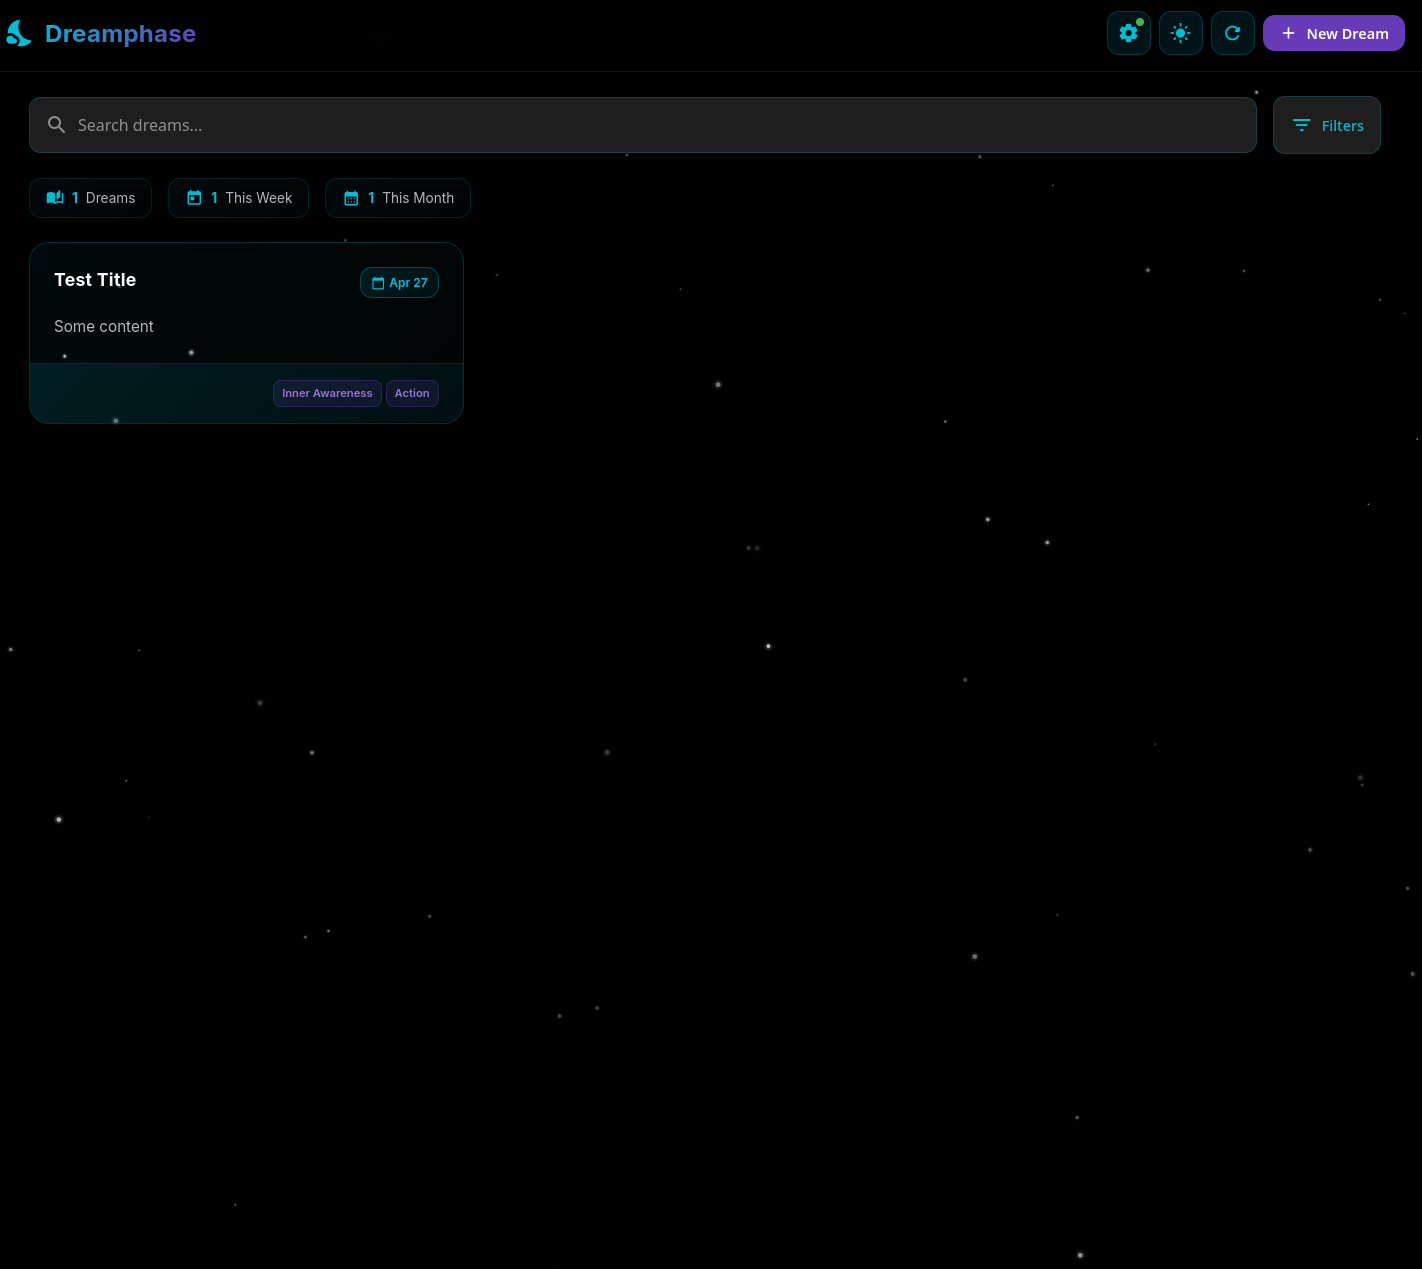
Top bar controls, left to right:
- Settings: gear icon. The small dot indicates connection status (green = connected).
- Theme toggle: switches between dark and light modes. The preference is remembered locally.
- Refresh: refetches entries from the server. Useful if you have just added a dream from another device.
- + New Dream: opens the New Dream modal (see below).
Search and filters
The search bar matches against title, content, and location. The Filters button opens a panel for narrowing by date range and dream signs. The three stat chips (Dreams, This Week, This Month) are also clickable shortcuts that apply the corresponding date filter.
Recording a dream
Click + New Dream in the top right (or Record Your First Dream on the empty state) to open the entry modal:
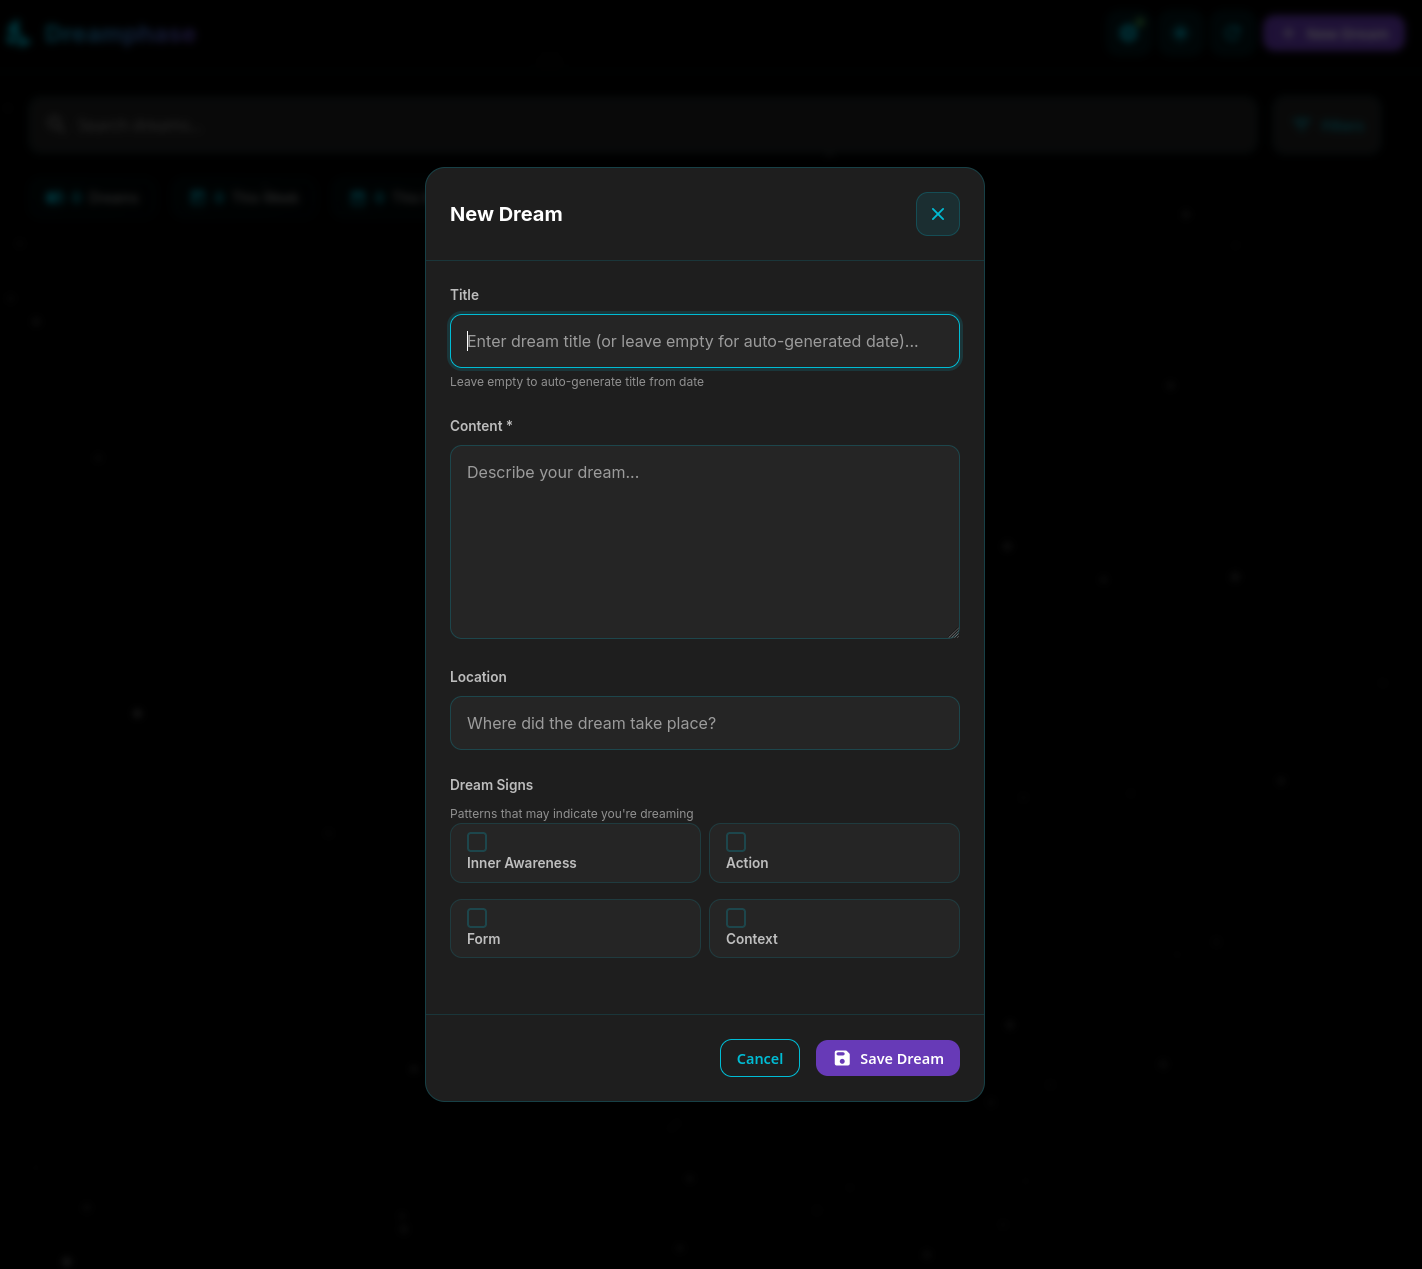
- Title: optional. Leave it empty and the entry will be titled with the date it was recorded.
- Content: required. The body of your dream report.
- Location: optional. Where the dream took place, in whatever vocabulary you find useful.
- Dream Signs: four toggleable categories of patterns that may indicate you are dreaming:
- Inner Awareness: thoughts, feelings, and self-perception that feel off.
- Action: strange physical actions or events.
- Form: distortions of your body or surroundings.
- Context: being somewhere or with someone you would not normally be.
Click Save Dream to commit the entry. It is sent to the server, stored in PostgreSQL, and immediately appears in the home view list.
Customizing entry fields
If you find the optional fields cluttering the entry modal, the Dream Entry Fields section in Settings lets you hide them. Toggle off Title, Location, or Dream Signs and they will be removed from the New Dream modal. Content is always required and cannot be hidden.
This is a UI-only preference, entries that already have those fields populated are not affected, and the data is preserved on the server even when the field is hidden.
Next steps
Want to write entries from your phone instead? See Connecting the Mobile App to point the Dreamphase mobile app at the same stack. If something is not loading, check Troubleshooting.